
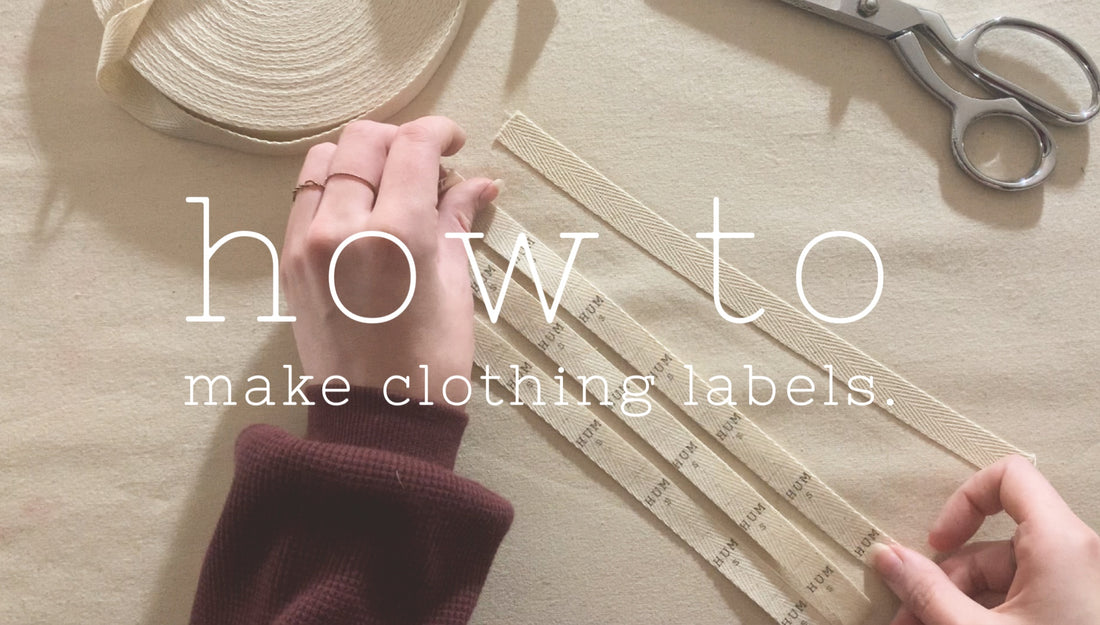
this is how I make all my clothing and fabric content labels. I use twill tape and transfer paper made for light coloured fabrics. you want to use transfer paper for light fabrics as it prints out on a transparent background. transfer paper for dark fabric will print out on a white background which you don't want!
supplies:
transfer paper for light fabrics
twill tape
printer
paper and fabric scissors/rotary cutters
printing tips:
create your label template using any software that you're comfortable with such as adobe illustrator or microsoft word.
make your label template slightly skinner than your twill tape: if you're using 1/2" tape make them 3/8" wide, 5/8" tape make them 1/2" wide etc.
make your font bold to help your labels stand out even more.
make the borders of your template very light so they don't show on your labels.
mirror/reverse your template before you print. you need to iron on a mirrored image or your labels will be backwards - yes I've done that before.
print on the blank side of the transfer paper. you'll want to know what side of the paper your printer prints so you know what way to face your transfer paper - the blank side of the paper will either have to face up or down.
ironing steps:
once you have your labels printed you're going to cut them into stripes following the template lines you just made. I actually use a rotary cutter, not my fabric rotary cutter but one I use specifically for cutting paper, to slice my labels.
start by ironing your stripes onto your twill tape. use a ton of steam and press hard to help your labels set. wait for these stripes to cool - I place them on my cool cutting mat to speed up this process.
once your stripes are completely cool peel off the transfer paper. now place the stripes print side up on your ironing board and place the silicone sheet that comes with the transfer paper on top. iron on the sheet pressing hard to set your labels again. take your time with this step or your labels might not stick on as well. after this step let your stripes cool - again I place them on my mat to cool faster.
peel the stripes off of the sheet and place them print side down on your ironing table or a piece of muslin. press and steam the stripes really well again not rushing this step. let your labels cool completely, unfortunately there's no way to speed up this part, before you peel them off. if you peel them off too early your labels could end up peeling off as well.
once they've cooled completely you can peel off the stripes then cut them up into labels.
and they're ready to sew into your clothes!